What is a Calibration Form?
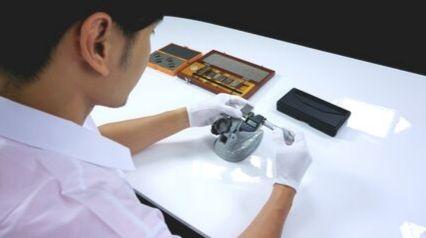
A calibration form is used by technical services teams in the maintenance of functionality, quality, and accuracy of measuring equipment. It helps ensure that workers adhere to calibration standards set by the organization to meet ISO 9001:2015 quality audit requirements.
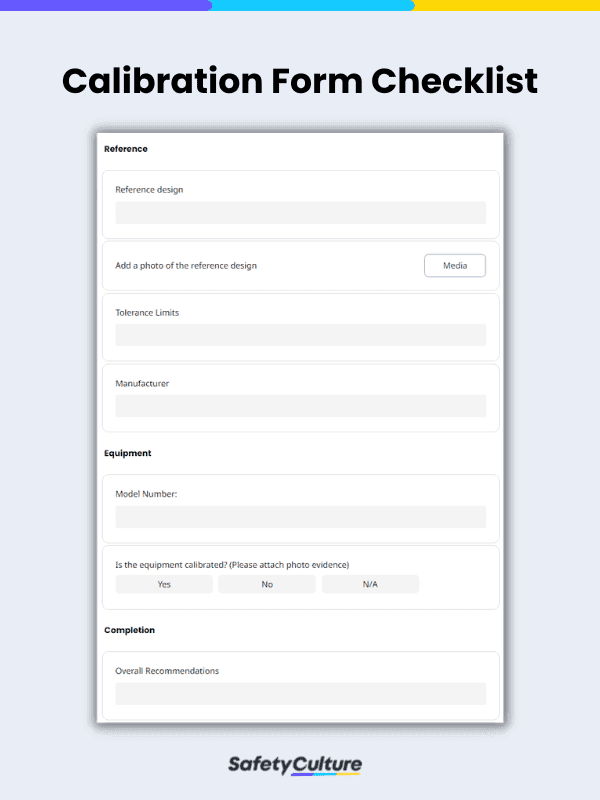
Calibration records include critical information such as reference design, tolerance limits, and calibration date and results. This information is used by technical services to ensure workers’ compliance and assign immediate actions to mitigate quality risks. Regular equipment calibration helps the organization prevent accidents and damage that can lead to legal action and profit loss.
Best Practices to Comply with Calibration Standards
Calibration standards are specific guidelines set by quality managers depending on the products and needs of the company. These specific standards will act as a reference guide with the existing measurement equipment and help identify equipment function and condition.
Non-compliance with calibration standards can put businesses at risk. For example, in the food manufacturing industry, a product should be stored at the recommended temperature to keep its consistency and quality. Using uncalibrated measuring equipment often results in the production of low-quality goods or food spoilage which can lead to a food safety violation, damage costs, or possible business closure.
Below are best practices you can follow to help comply with these standards:
1. Schedule Regular Maintenance and Calibration Checks
Any piece of equipment, if not maintained, can lose its reliability over time. Scheduled maintenance and calibration checks help ensure equipment performance is at the highest level. It prevents unnecessary incidents and any dangerous consequences for both the business and its customers.
2. Issue Immediate Corrective Actions
Calibration requires checking measuring equipment for any signs of non-compliance and coming up with immediate solutions. All measuring equipment should be standardized and in good condition to avoid damage costs and legal issues.
3. Keep Calibration Records
All gathered calibration results should be kept on the record because this information can be used as evidence in preparation for ISO 9001:2015 certification. All actions taken should be recorded to monitor and identify rectification or repairs. Calibration results can be used as a reference for checking previous issues, malfunctions, damage, and the repair history of the equipment.
4. Use a Digital Tool like SafetyCulture (formerly iAuditor)
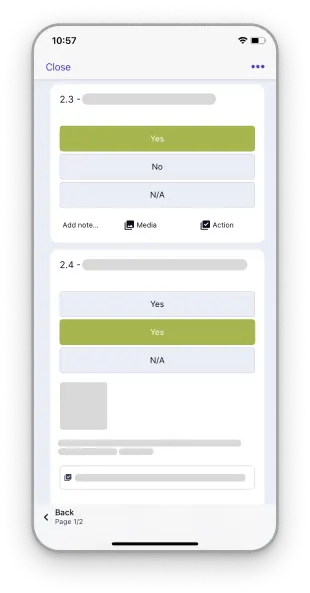
Oftentimes, organizations forget their scheduled calibration due to workload and delayed communication. Using a digital tool like SafetyCulture, it would be easier to assign rectification in real-time even if you’re still on site. Also, once you set your calibration schedule the assigned person will automatically get a notification. Other benefits of using SafetyCulture would be:
- The convenience of recording calibration logs using a handheld device.
- Take photo evidence of equipment damages and calibration results.
- Share calibration results faster and more efficiently.
- Keep your inspection and assessment records secure in the cloud.


